Adblock, joka ei toimi Twitchissä, tapahtuu todennäköisemmin, jos käytät vanhentunutta Adblock-selainlaajennusta. Muita syitä voivat olla Chromen verkkopalvelu, verkkoselaimen soitin, Adblock-laajennuksen suodattimien epäoptimaalinen asetus, selainongelmat tai selainlaajennuksen ongelmat.

Adblocking-selainlaajennukset ovat ohjelmistoja, jotka pystyvät poistamaan tai muuttamaan verkkomainontaa verkkoselaimessa / sovelluksessa. Mutta nämä laajennukset eivät joskus pysty estämään Twitchin mainoksia, koska Twitch on lisännyt mainoksen suoraan streamiin.
Seuraavassa on tapoja, joilla Twitch-mainokset voidaan estää:
Ratkaisu 1: Varmista, että AdBlock-laajennuksesi on ajan tasalla
Teknologia kehittyy päivittäin, ja jos et päivitä selainlaajennuksiasi säännöllisesti, saatat joutua moniin ongelmiin. Joten, jos käytät vanhentunutta AdBlock-laajennusta, kyseinen laajennus ei välttämättä pysty estämään mainoksia Twitchissä. Havainnollistamiseksi käytämme Google Chromea, kun AdBlock-laajennus on asennettu.
- Avaa Chrome & osoiterivityypissä
kromi: // laajennukset
ja paina Enter.

- Laajennukset Windows Liikuta edestakaisin ” kehittäjätilaa ” ja Käytössä .
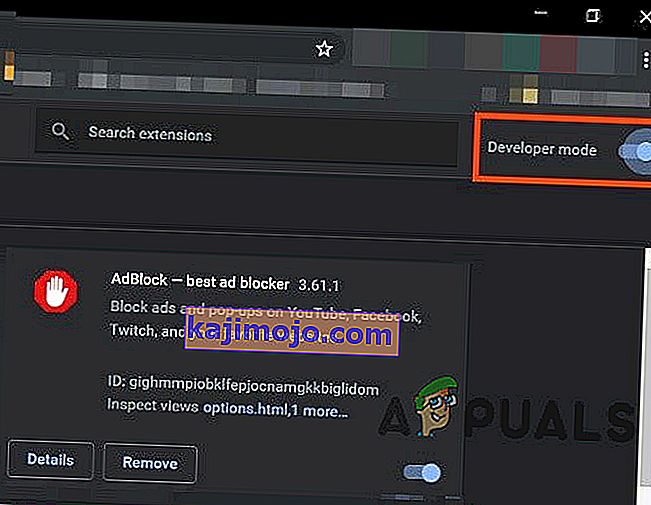
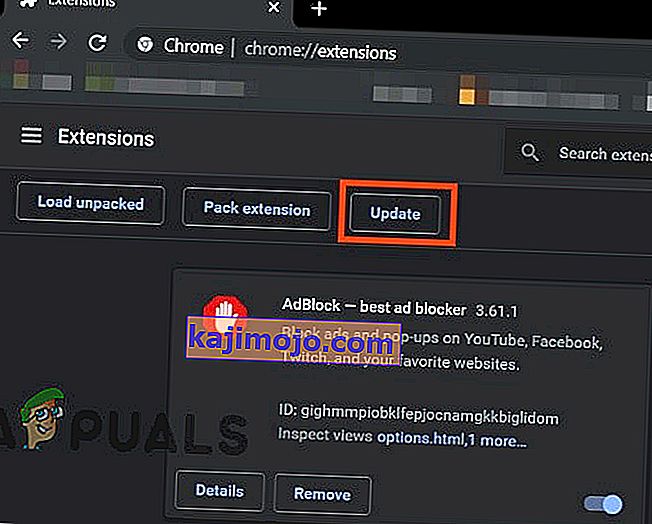
- Napsauta nyt “ update ”, joka päivittää kaikki Google Chromen laajennukset.
- Käynnistä selain uudelleen .
- Avaa Twitch nähdäksesi, onko ongelma ratkaistu.


Jos Twitchin mainokset ovat edelleen olemassa, siirry seuraavaan ratkaisuun.
Ratkaisu 2: Ota asetus käyttöön selainlaajennuksessa
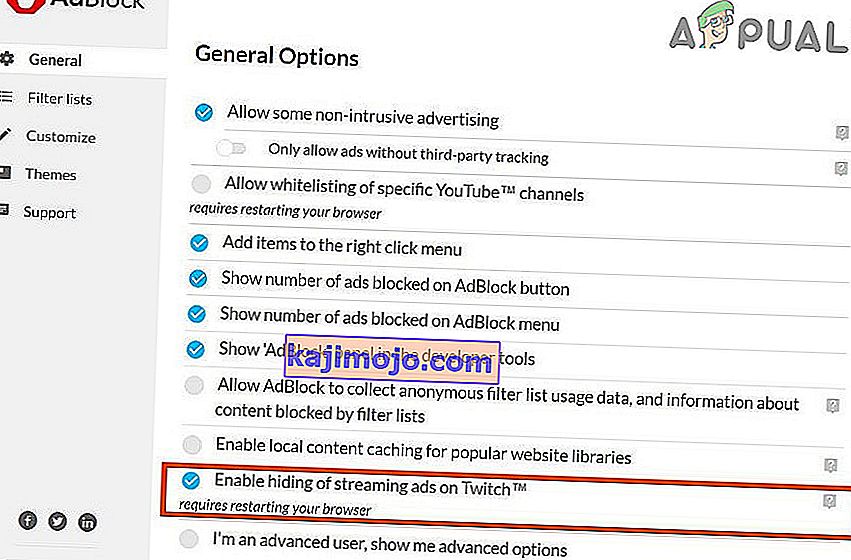
Monet AdBlock-laajennukset alkavat estää mainoksia heti, kun ne on lisätty selaimeen, mutta niillä on erillinen asetus hallita mainoksia Twitchillä. Tämä asetus ei ole oletusarvoisesti käytössä, ja sinun on otettava käyttöön asetus estää mainokset Twitchissä. Joten asetuksen ottaminen käyttöön voi ratkaista ongelman. Käytämme Google Chromea ja AdBlockia havainnollistamistarkoituksiin.
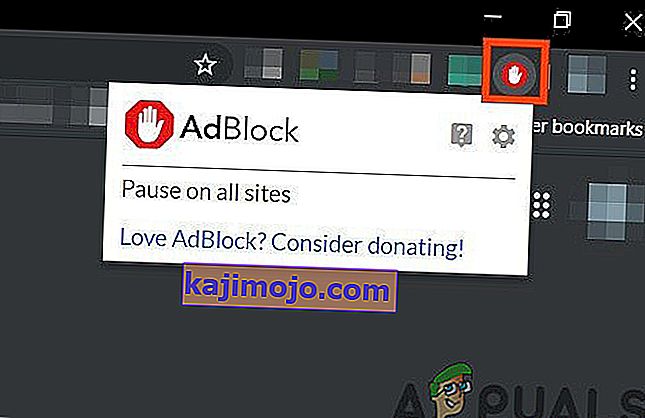
- Avaa Chrome ja napsauta " AdBlock " -kuvaketta osoitepalkin lähellä. Laajennuksen ohjeet saattavat poiketa tästä.
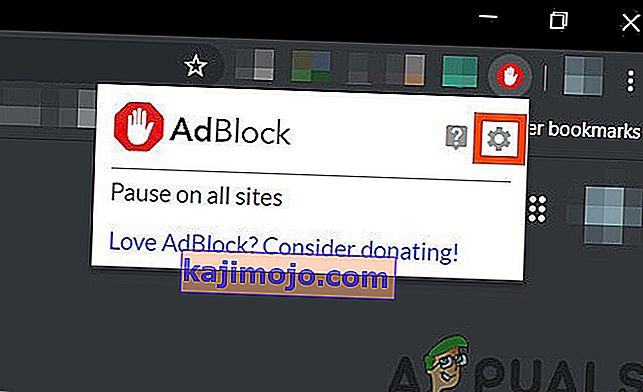
- Napsauta nyt ponnahdusikkunan rataskuvaketta avataksesi AdBlock-asetukset .
- In ” Yleinen ” Asetukset on ” AdBlockin Settings ”, Checkmark ” Enable piilottamisen Streaming Mainokset Twitch ” vaihtoehto.
- Käynnistä Google Chrome uudelleen .
- Tarkista, ovatko Twitchin mainokset estetty.


Jos kohtaat edelleen Twitchin mainoksia, siirry seuraavaan ratkaisuun.
Ratkaisu 3: Muuta lisäasetuksia Chromessa
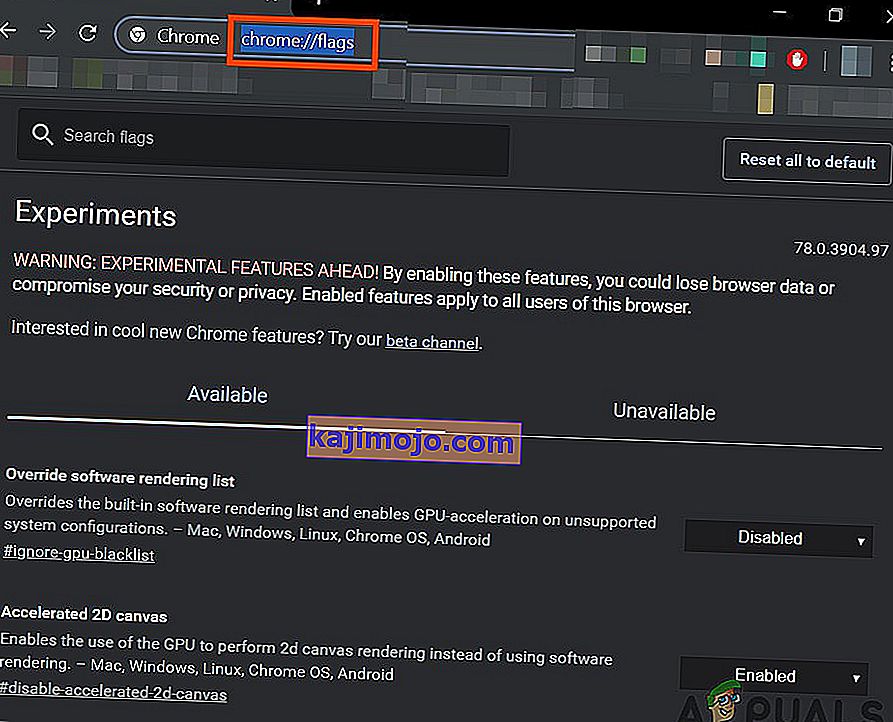
Kromin verkkopalvelu suorittaa erillisen prosessin, jota Google Chromeen lisätyt mainosten estolaajennukset eivät voi käyttää. Tämän palvelun asettaminen mainosten estolaajennuksen saataville voi ratkaista ongelman.
- Avaa Chrome ja osoiterivityypissä
kromi: // liput
ja paina Enter.
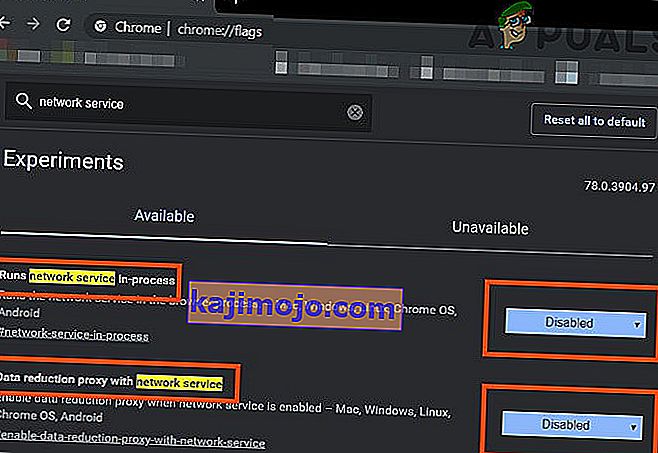
- Kirjoita hakulippujen ruutuun Verkkopalvelu .
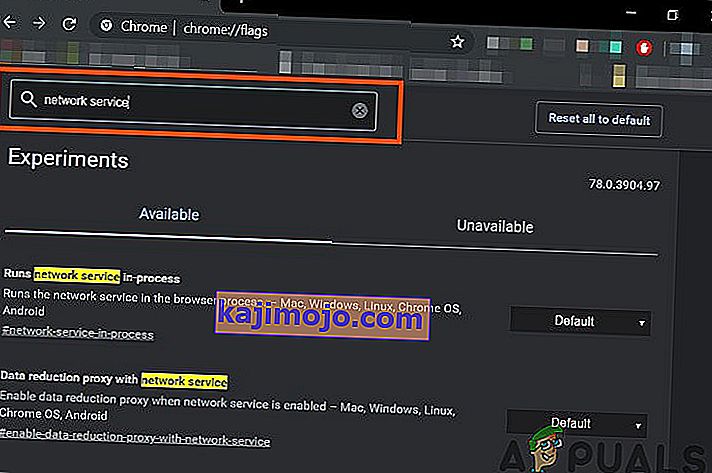
- Ja määritä tuloksissa ” Suorittaa verkkopalvelun prosessin aikana ” ja ”Datan vähentämisen välityspalvelin verkkopalvelulla” arvoksi ” Pois käytöstä ” ja tallenna muutokset.
- Käynnistä selain uudelleen .
- Tarkista, onko ongelma ratkaistu. Jos ongelma on ratkaistu, muista suorittaa nämä vaiheet aina, kun Chrome saa uuden päivityksen.


Jos ongelma on edelleen olemassa, kokeile seuraavaa ratkaisua.
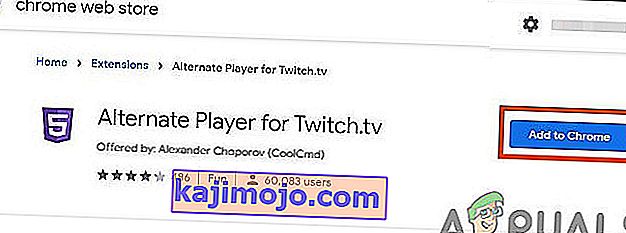
Ratkaisu 4. Kokeile Twitch.tv: n Alternate Player -sovellusta
Twitch.tv: n aiemmin nimeltään Twitch 5 -laajennus Alternate Player poistaa useimmat mainokset livestriimeistä. Soittimen asetukset voidaan virittää Internet-yhteyteen. Sen avulla voit jatkaa lähetyksen katselua toisessa soittimessa, esimerkiksi Media Player Classic, VLC Media Player tai MX Player jne., Mikä tekee siitä varsin hyödyllisen.
Joten sen käyttö voi ratkaista ongelman.
- Lisää laajennus selaimeen avaamalla linkki.
- Lisää Alternate Player for Twitch Chromeen
- Lisää Alternate Player for Twitch Firefoxiin ja Firefoxista johdettuihin selaimiin:
- Lisää Twitchin vaihtoehtoinen soitin Microsoft Edgeen.
- Lisää laajennus selaimeen.
- Käynnistä selain uudelleen ja avaa Twitch nähdäksesi, onko ongelma ratkaistu.

Jos sinua vielä pommitetaan mainoksilla, siirry seuraavaan ratkaisuun.
Ratkaisu 5: Käytä suodattimia
Jokaisessa AdBlock-laajennuksessa on suodatinluettelot. Suodatinluettelo voi olla valkoinen, musta ja mukautettu luettelo. Nämä luettelot voidaan lisätä manuaalisesti tai viitata käytettävissä oleviin online-luetteloihin. Voimme lisätä Twitch-mainosvirran laajennuksen mustalle listalle, ja tämä lisäys voi ratkaista ongelman.
- Avaa Chrome ja napsauta AdBlock-laajennusta.
- Sitten klikkaa Gear kuvake avaa AdBlockin asetukset .
- Napsauta Mukauta- painiketta.
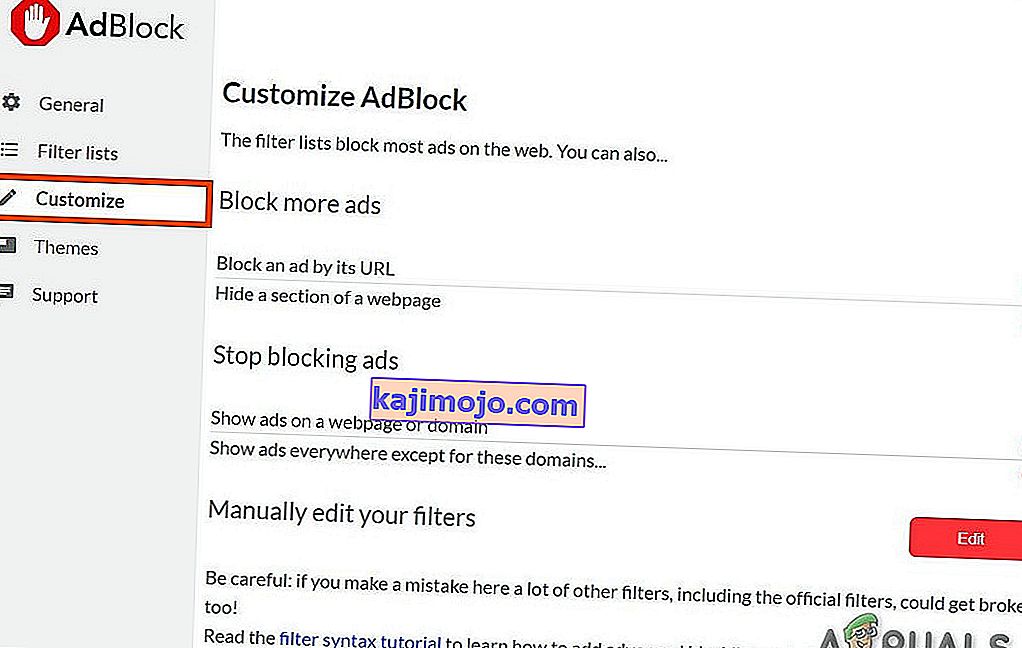
- Napsauta Muokkaa- painiketta otsikon ” Muokkaa suodattimia manuaalisesti ” vieressä .
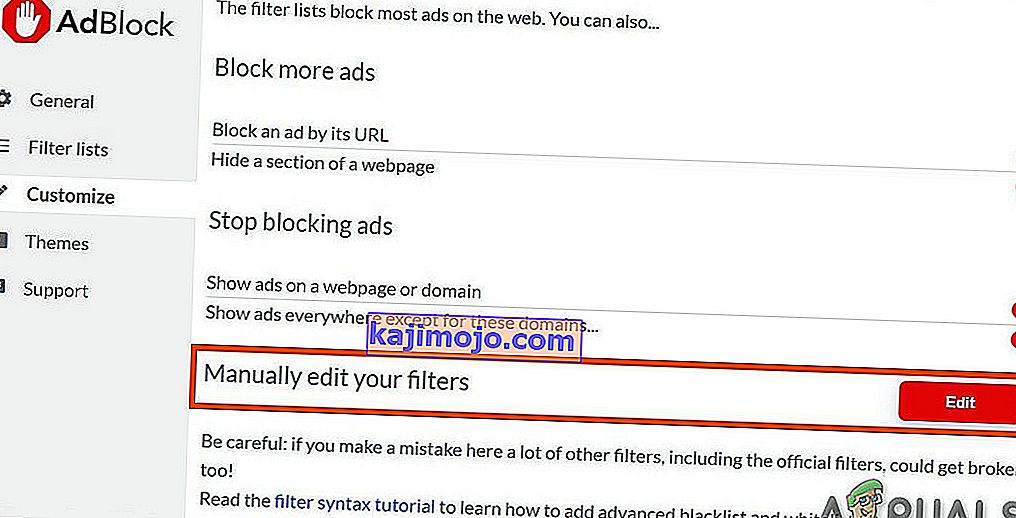
- Lisää seuraava luetteloon, yksi kullekin riville.


www.twitch.tv ##. js-player-ad-overlay.player-ad-overlay www.twitch.tv ##. player-ad-overlay.player-overlay //imasdk.googleapis.com/js/sdkloader/ ima3.js r /// imasdk.googleapis.com/js/sdkloader/ima3.js
Siirry nyt Twitchiin ja katso, onko ongelma ratkaistu, jos ei, siirry seuraavaan ratkaisuun.
Ratkaisu 6: Kiertotapa Android-laitteella
Twitch is not only available for the web but it has its Android app as well. There is a small workaround that can be performed to avoid the ads on the Twitch Android app. Remember that you can use an Android Emulator e.g. BlueStacks on the PC if you want to use the solution.
- Open Twitch on the Android
- When an ad starts to display then just click on “Learn More”
- And then immediately tap on Back Button and the whole ad will be skipped.
Solution 7: Use Streamlink
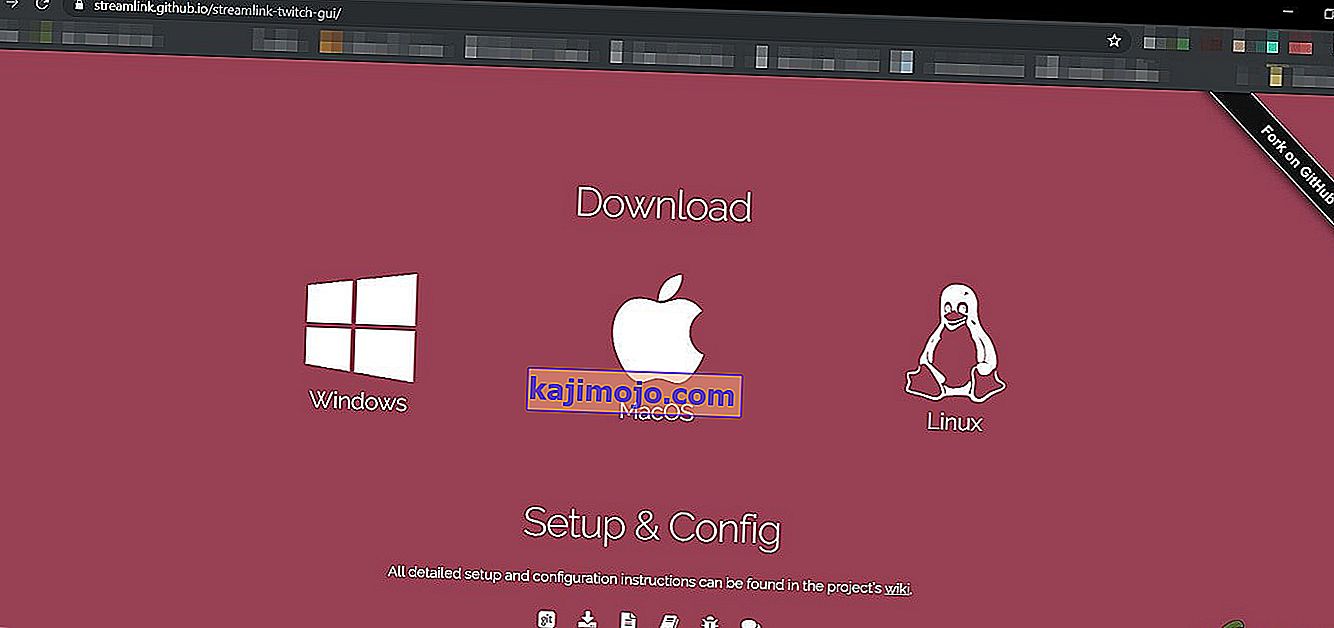
Streamlink Twitch GUI is a web application written in JavaScript (EmberJS), HTML (Handlebars) and CSS (LessCSS) and is being run by a Node.js powered version of Chromium. With Streamlink Twitch GUI you’re not dependent on the web browser of system and streams can be watched in any video player as per your liking, which will enable smooth video playback. Moreover, Streamlink Twitch bypasses any ad by the Twitch.tv.
- Download Streamlink as per your OS.
- Install & run it and see if the problem is solved.

If you are still in the line of ads, move to the next solution.
Solution 8: Using HLS AdBlock
Twitch plays advertisements whenever the user starts watching a new channel. Twitch staff injects advertisements into the HLS stream directly. HLS AdBlock extension patches the technique which Twitch uses and edits the m3u8 playlist that is requested every few seconds to simply remove segments that are marked as advertisements. So, installing HLS AdBlock can solve the problem.
- Download the HLS AdBlock extension as per your browser.
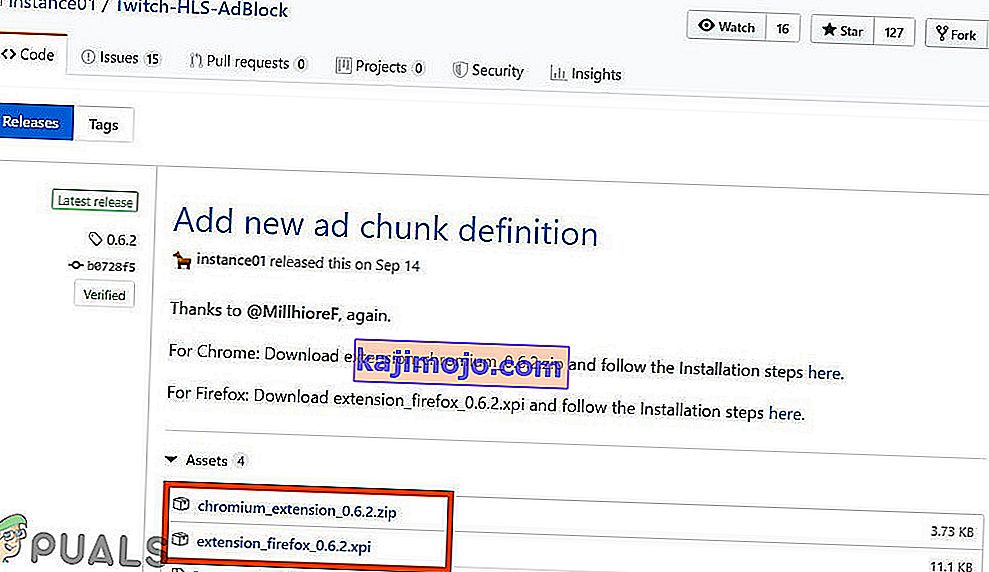
- For Chrome

- Unzip into a folder, remember the folder path.
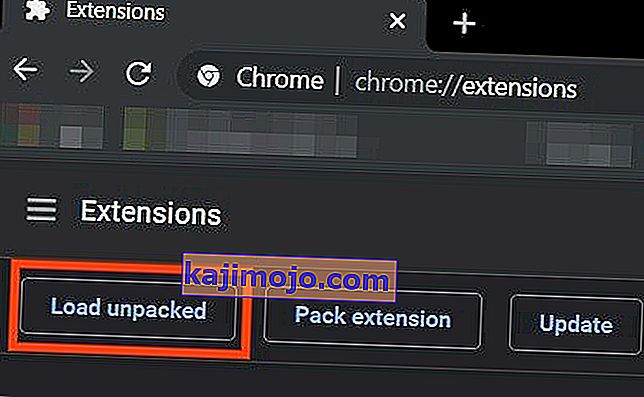
- Go to
chrome://extensions/
and enable Developer Mode.
- Click on ‘Load unpacked’ and go to the directory with the extension (see if “manifest.json” is in the directory)
- Click on ‘Load unpacked’ and go to the directory with the extension (see if “manifest.json” is in the directory)

- For Firefox:
- Download the latest release (xpi file)
- Go to
about:addons
& load the HLS AdBlock addon from the downloaded file
- Now Run the Twitch to see if the problem is solved.
If you are still facing the problem, move to the next solution.
Solution 9: Use Adguard
AdGuard is an ad-blocking extension that effectively blocks all types of ads on all web pages including video ads, rich media advertising, unwanted pop-ups, banners and text ads, etc. AdGuard can handle most of the AdBlock circumvention scripts, the technique used by Twitch.
- Visit this link for Chrome and this link for Firefox.

- Install and run it.
- Check if the problem is solved.

If not, move to the next solution.
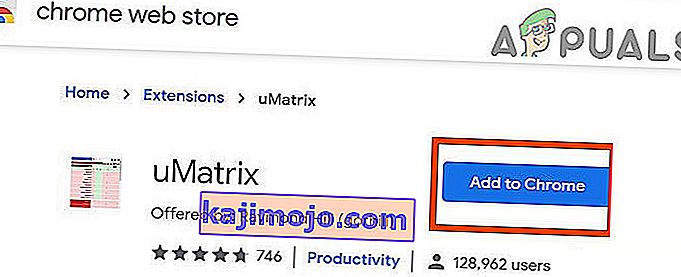
Solution 10: Using uMatrix
By uMatrix you point & click to allow or restrict requests made by the browser. It can be used to block iframes, scripts, ads, etc. uMatrix puts you in control of the connection, downloading and execution of data types.
- Visit the following link as per your browser to add the extension
- Add to Chrome
- Add to Firefox
- Run Twitch to see if the problem is solved.

If the problem is still there, proceed to the next solution.
Solution 11: Ublock Origin
Ublock origin is an efficient ad blocker that is easy on memory and CPU and can load & enforce thousands of filters than other popular blockers. It’s more of an “adblocker” as it can also create filters from host files.
- Visit the concerned link as per your browser to add the extension to it.
- Add to Chrome
- Add to Firefox.

- Run Twitch and see if the problem is solved.

If the problem persists, move to the next solution.
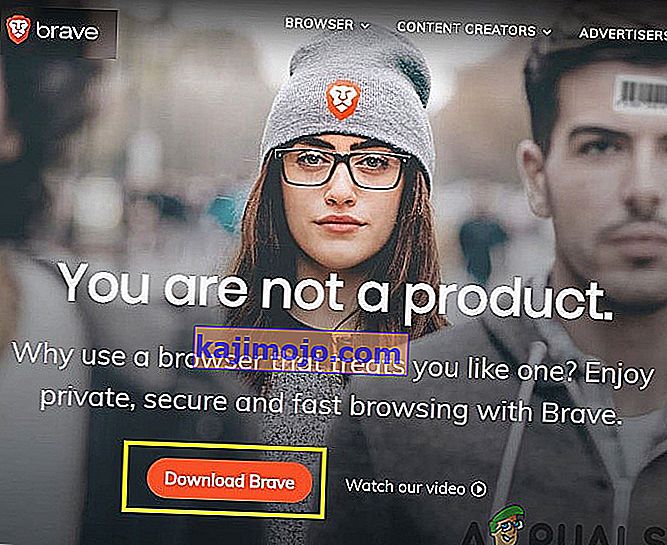
Solution 12: Use Brave Browser
Brave is an open-source& free web browser developed by Brave Software, Inc. Brave is based on the Chromium web browser. The browser blocks website trackers & ads.
- Download the Brave Browser.
- Install and run it.
- As Brave is Chromium-based so Chrome extensions can be used with it. Use any of the extensions mentioned in the above solutions.
- Now use Brave to access Twitch and see if the problem is solved.

If the problem is not solved, move to the next solution.
Solution 13: User-Agent Switcher
In this solution, we will use the same technique as mentioned for android users but with a different approach. We will use a Chrome extension User-Agent Switcher, by which we will convert the user agent in Brave Browser to be Android or iOS. And this may solve the problem. But before proceeding further, make sure you have Brave Browser installed with Ublock origin and Umatrix extensions added to it, which is explained in the above solutions.
- Open Brave Browser.
- Open User-Agent Switcher in Brave Browser to open it in the Chrome Webstore.
- Please read this help article on How can I add extensions to Brave and use these guidelines to add User-Agent Switcher to Brave Browser.
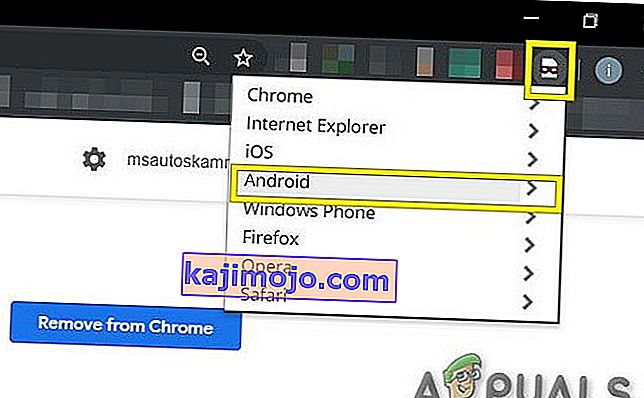
- Now click on the icon of User-Agent Switcher, next to the address bar, and then click on Android (if you want to switch to Android).
- Now open the Twitch in the Brave Browser, if an ad pops up, click on Learn More and then click on the back button and the ad will be skipped. Now you can switch back to Chrome in the User-Agent Switcher.


If the problem is not solved, proceed to the next solution.
Solution 14: Twitch Turbo:
If you hate ads during watching streaming and can afford to pay the fee then Twitch’s subscription service called Twitch Turbo is a good option to consider. Twitch Turbo comes with ad-free Twitch viewing with other features as well.
- Open Twitch Turbo Subscription Page to subscribe to the Twitch Turbo.

- Use Twitch Turbo to watch Twitch and there will be no ads anymore.

Hopefully, you can now watch Twitch without ads.